


Setup Document routing agent printers for D365F&O and its various challenges
Views (1157)
 21
User Group Leader
21
User Group Leader
 Like
Like Share
Share
 Report
The Document Routing Agent (DRA) in Dynamics 365 for Finance and Operations (D365FO) is a downloadable application that acts as a bridge between the cloud-hosted D365FO system and your local network printers. It enables users to print documents directly to network printers from within the D365FO application. Without the DRA, pushing print jobs directly to network printers from D365FO isn't possible.
Here is how it goes:
This document is aimed at helping you with setting up DRAs at your convenience for Zebra Printer (ZPL), that can help with you test your Advanced Warehouse Mobile based print jobs (like label printing for License plates, etc.).

Select Add manually from the option below:

Choose the below prompt option

Choose the below option from the popup:
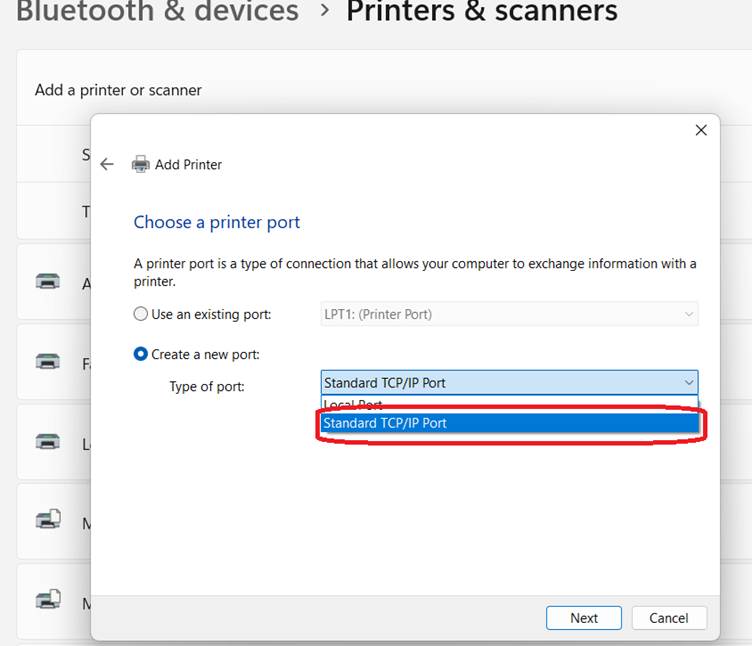
And click next. Give a convenient port to your printer:
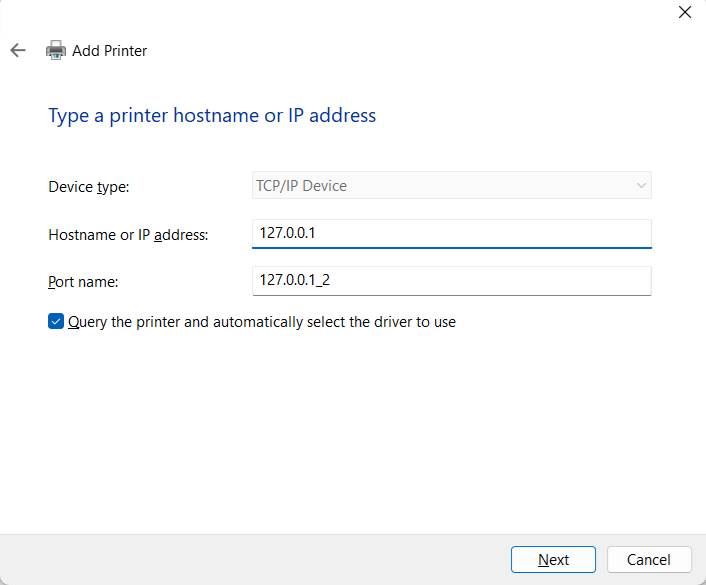
Click Next to continue. This is going to take a while to detect the port entered, and once it’s not able to detect thee printer attached, it will come to back to you, for manual selection:
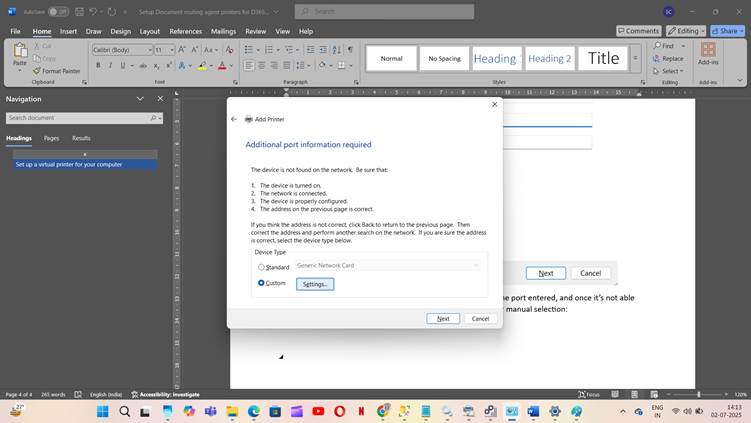
Select ‘Custom’ >> Next, with which it would try to detect the driver model:
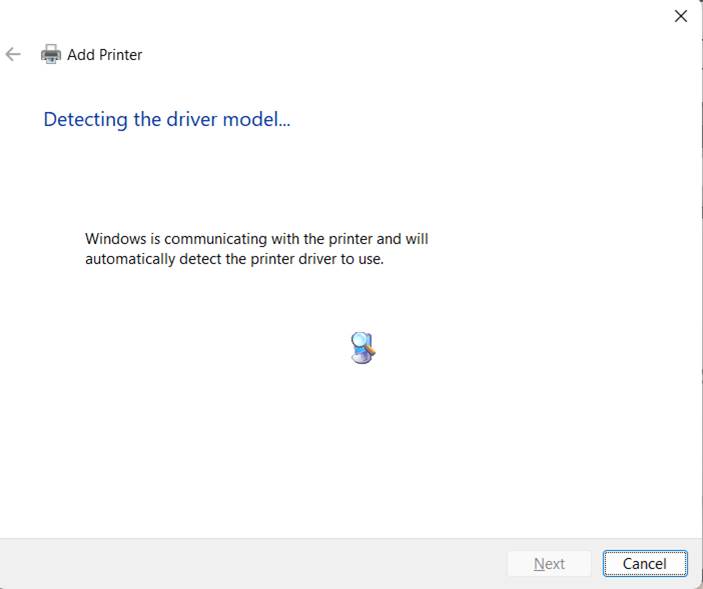
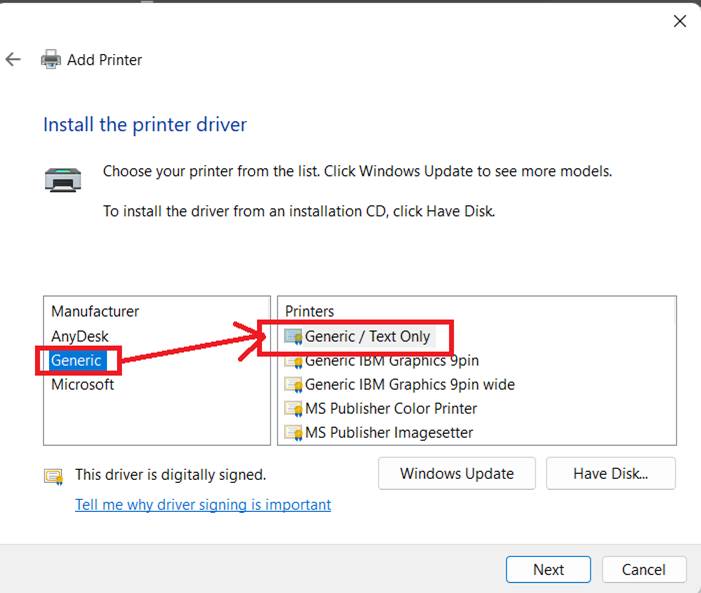
And in the next screen make the following selection (generic/texts):
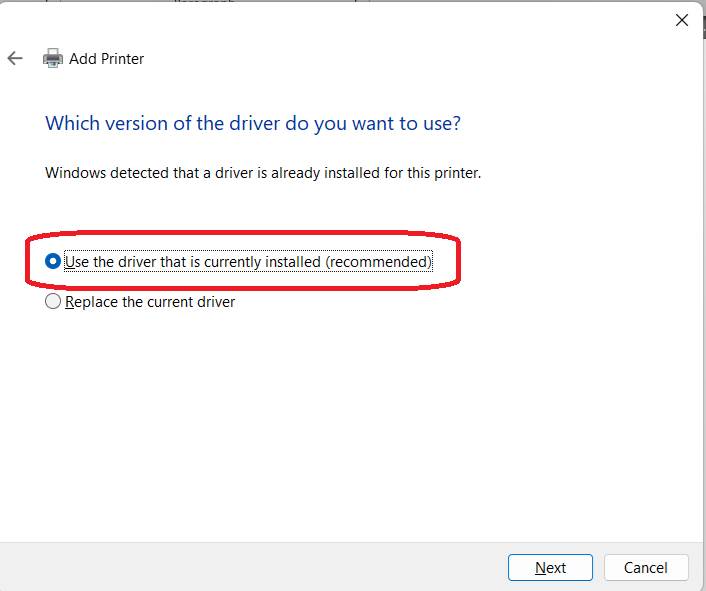
And click Next. Replace the Currently installed driver:
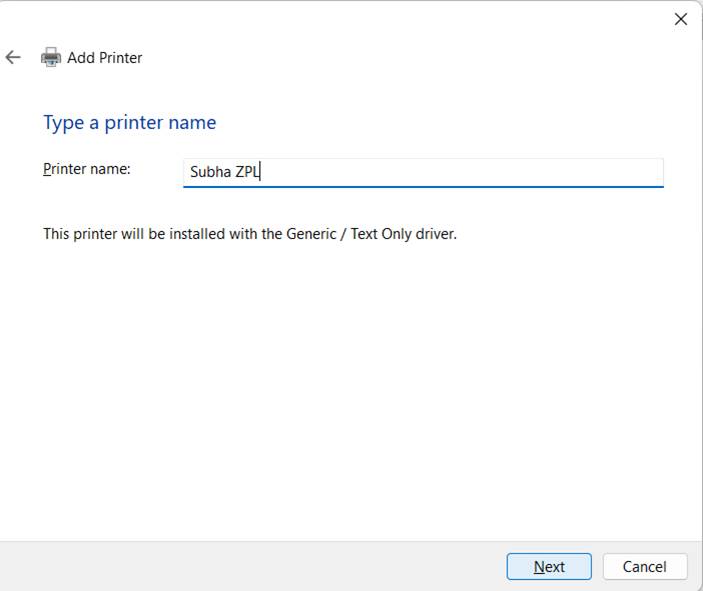
Give a proper name to your Printer and print Next:
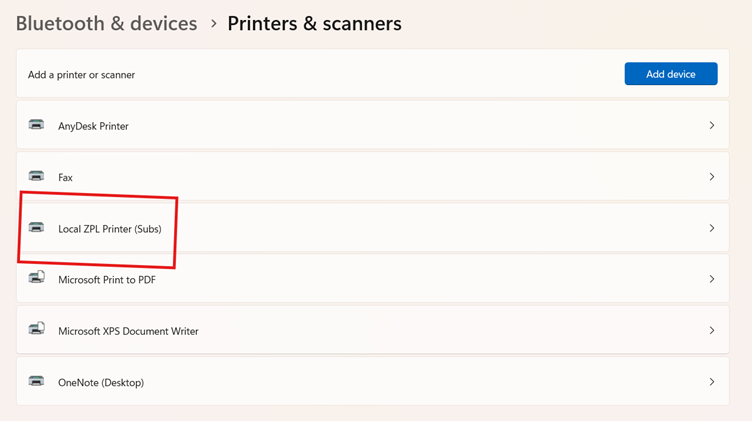
Ensure that the printer is showing in the available Printer list:
https://github.com/porrey/Virtual-ZPL-Printer/raw/main/Installer/Virtual%20ZPL%20Printer%20Setup.msi
However, you must check for the latest update available ( I am using v 3.4.0).
I chose En-US, to continue. This will download the Agent’s setup.exe in your local machine. Once it’s downloaded, you can simply install by running the installer wizard (very simple Next-next). And then you need to go to start >> Document Routing Agent, and the following would screen load up:
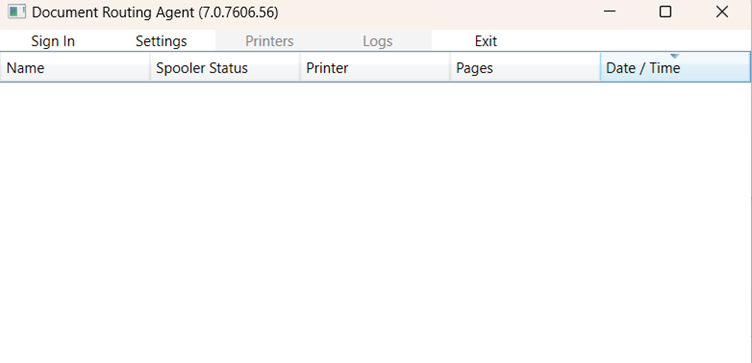
Ensure to Click on Sign in and you sign in on with D365F&O user Id. Click on Settings >> and provide your tenant Id, from your subscription
 Click on Run as Windows Service and enable Logging view in Application. Note where the PDF files are going to be stored (you can give a folder path of your choice).
Click on Printer >> and the following screen will come:
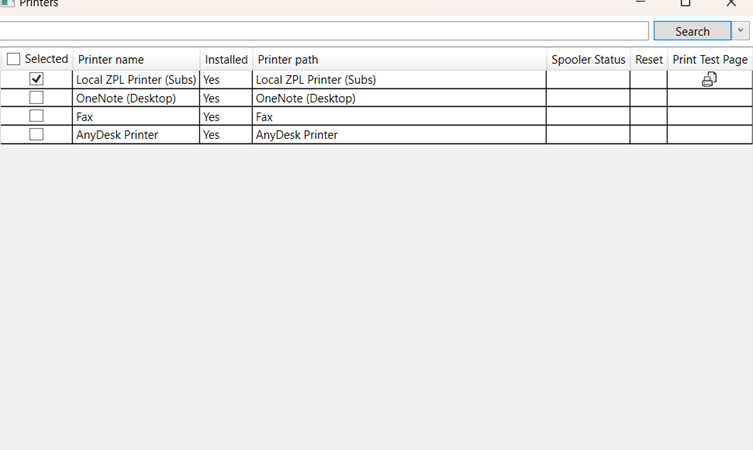
Select the printer which you added from the above step >> click on Register.
You might get the error:
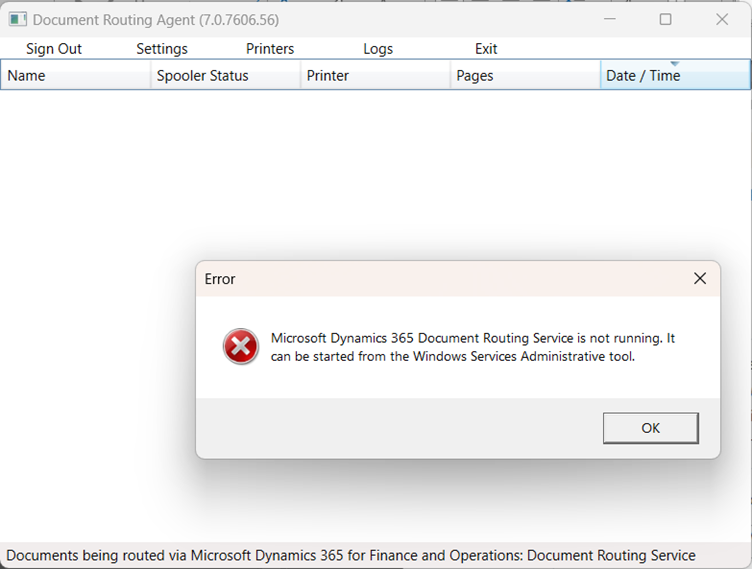
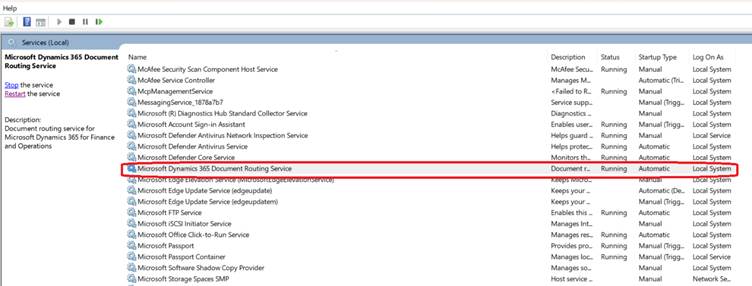
Which means, you need to start the DRA service from Services.MSC:
This would turn up the printer in your D365F&O:
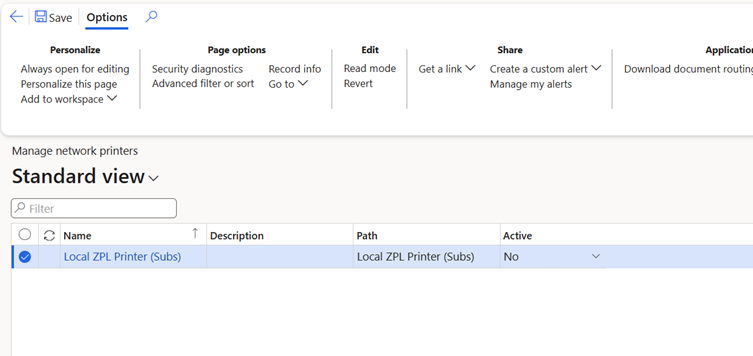
Change the Active status from No to Yes:
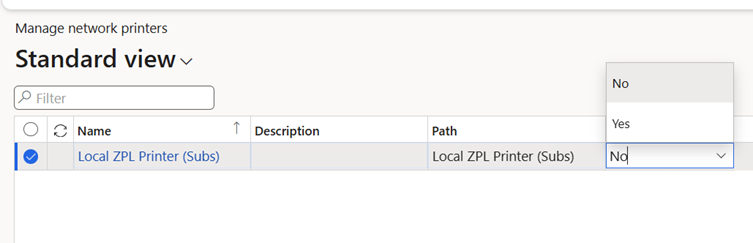
Click on Save.
P.S.: don’t close it, should you wish to run any print from D365F&O cloud solutions.
The following screen pops up, indicating the active printer configurations:
Start the Virtual ZPL printer by clicking on Start button, as a result the status changes from Idle to ‘Listening’:
Click on test to trigger test prints:
Click on Send to push the document as Preview label print:
And it would prompt you the License plate #:
And it gives the prompt, once done:

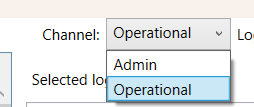
Select Channel = Operational:
You should be able to see the Logs now. The log shows the issue:
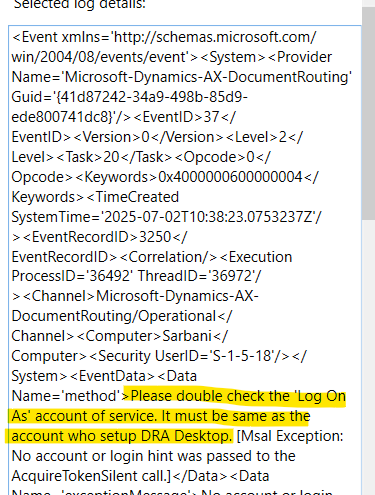
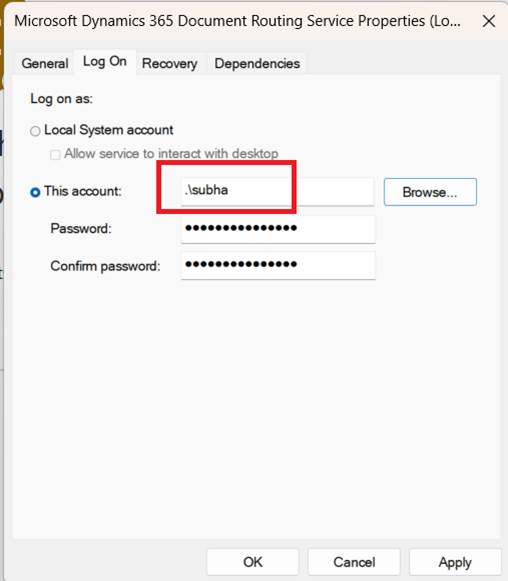
Which means you have to visit the Services >> Document Routing Service >> Logon. Give the Admin login to continue:
Ideally, this must be equal to the login with which you are accessing your D365F&O. if not, at least, it has to be an impersonated Admin account.
Here is how it goes:
- Network Printing:
- Bridging the Gap:
- Spooling:
- Status Updates:
This document is aimed at helping you with setting up DRAs at your convenience for Zebra Printer (ZPL), that can help with you test your Advanced Warehouse Mobile based print jobs (like label printing for License plates, etc.).
Set up a virtual printer for your computer
In your Local Computer >> Printers & scanners >> Add a device:Select Add manually from the option below:
Choose the below prompt option
Choose the below option from the popup:
And click next. Give a convenient port to your printer:
Click Next to continue. This is going to take a while to detect the port entered, and once it’s not able to detect thee printer attached, it will come to back to you, for manual selection:
Select ‘Custom’ >> Next, with which it would try to detect the driver model:
And in the next screen make the following selection (generic/texts):
And click Next. Replace the Currently installed driver:
Give a proper name to your Printer and print Next:
Ensure that the printer is showing in the available Printer list:
Download and Insall ZPL printer
You can download and install ZPL printer from the following GitHub URL:https://github.com/porrey/Virtual-ZPL-Printer/raw/main/Installer/Virtual%20ZPL%20Printer%20Setup.msi
However, you must check for the latest update available ( I am using v 3.4.0).
Download and configure Document Routing Agent
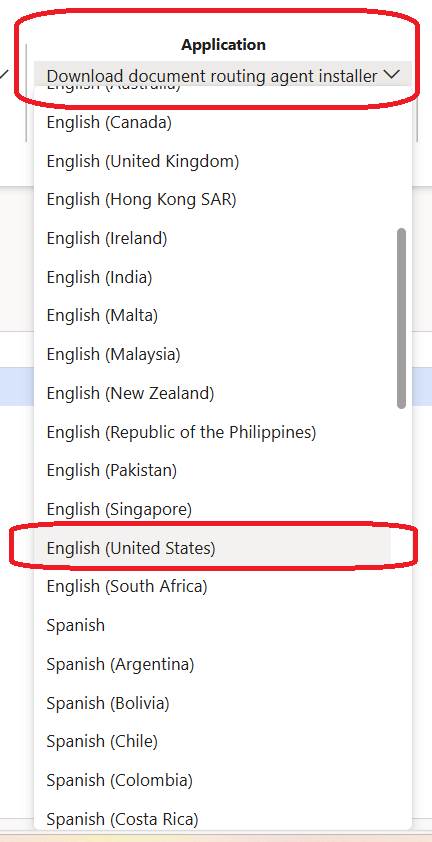
Visit your D365F&O instance >> Organization administration >> Setup >> Network Printer. Choose/select from Action pane >> Application >> Download document routing agent installer, and choose the Language of your choice:I chose En-US, to continue. This will download the Agent’s setup.exe in your local machine. Once it’s downloaded, you can simply install by running the installer wizard (very simple Next-next). And then you need to go to start >> Document Routing Agent, and the following would screen load up:
Ensure to Click on Sign in and you sign in on with D365F&O user Id. Click on Settings >> and provide your tenant Id, from your subscription
Click on Printer >> and the following screen will come:
Select the printer which you added from the above step >> click on Register.
You might get the error:
Which means, you need to start the DRA service from Services.MSC:
This would turn up the printer in your D365F&O:
Change the Active status from No to Yes:
Click on Save.
P.S.: don’t close it, should you wish to run any print from D365F&O cloud solutions.
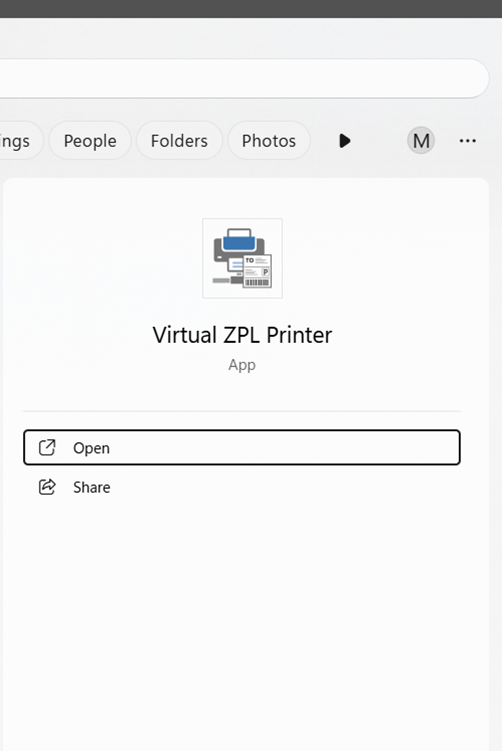
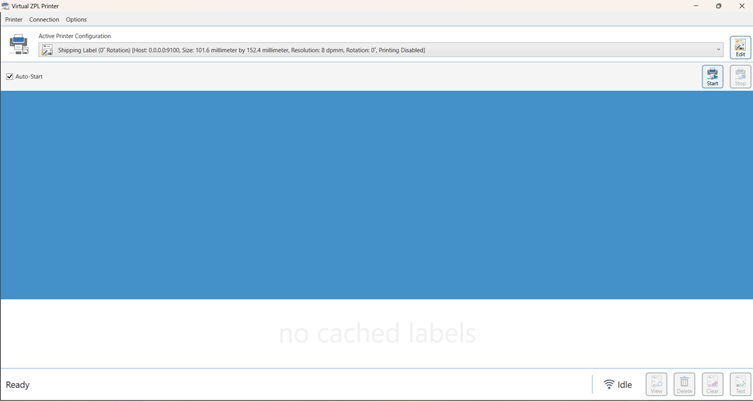
Configure ZPL virtual printer
Configure the ZPL virtual printer by running it from Start >> Virtual ZPL Printer:The following screen pops up, indicating the active printer configurations:
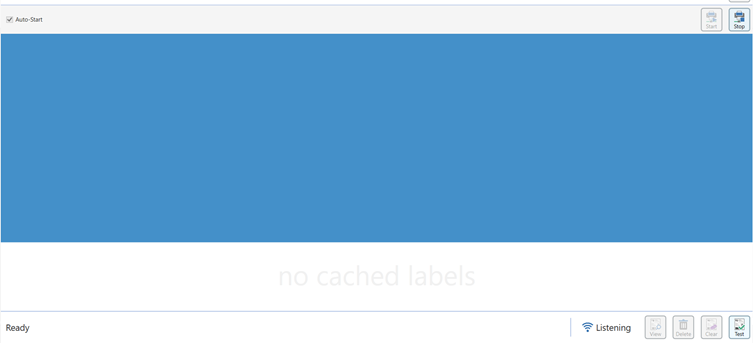
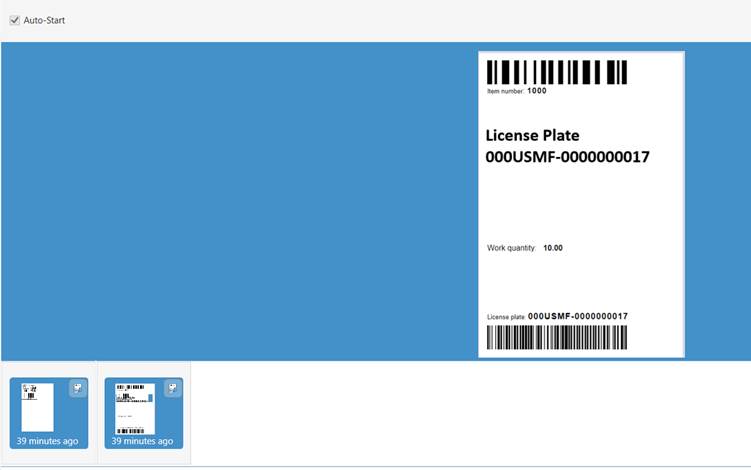
Start the Virtual ZPL printer by clicking on Start button, as a result the status changes from Idle to ‘Listening’:
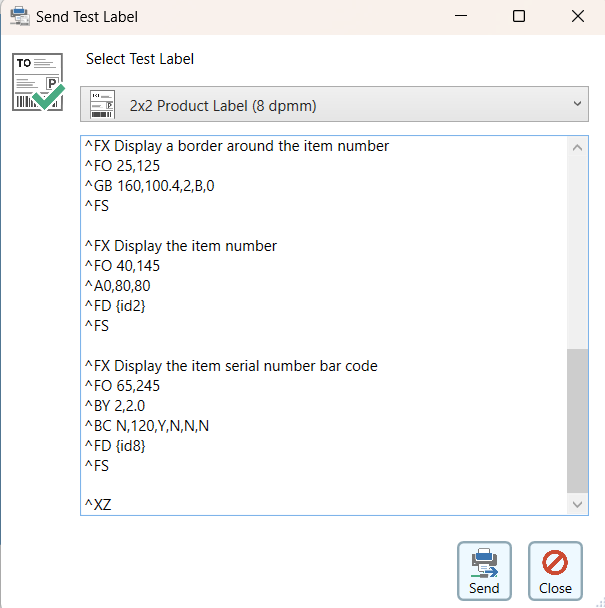
Click on test to trigger test prints:
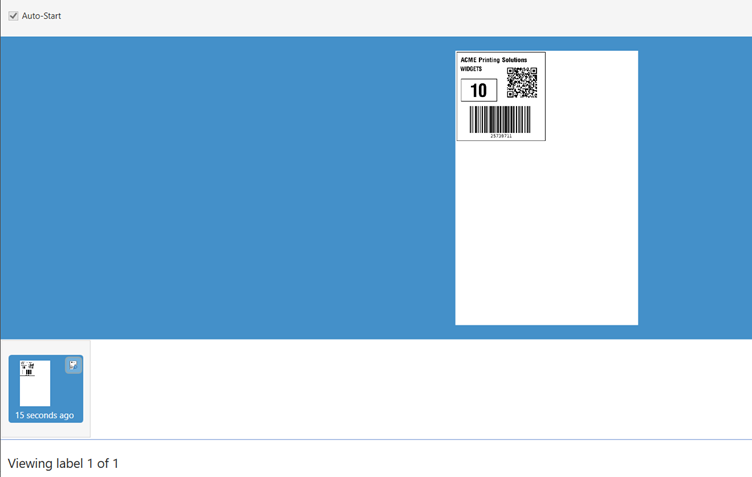
Click on Send to push the document as Preview label print:
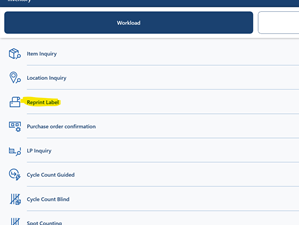
Triggering from D365F&O
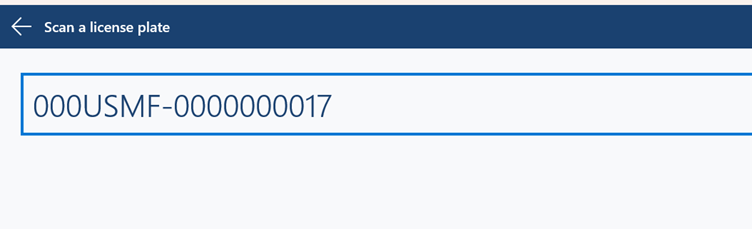
You can now Log on to Warehouse management App >> Click on Reprint License Plates:And it would prompt you the License plate #:
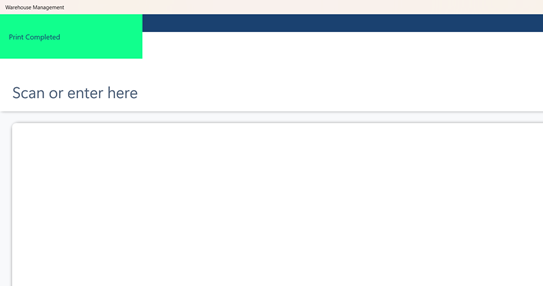
And it gives the prompt, once done:
Getting error while printing?
If your printable Document doesn’t appear on ZPL printer, visit your DRA service and click on Logs:Select Channel = Operational:
You should be able to see the Logs now. The log shows the issue:
Which means you have to visit the Services >> Document Routing Service >> Logon. Give the Admin login to continue:
Ideally, this must be equal to the login with which you are accessing your D365F&O. if not, at least, it has to be an impersonated Admin account.
*This post is locked for comments