Dynamics 365 Business Central: introducing the Dynamics 365 Translation Service Visual Studio Code extension (preview)
 Stefano Demiliani
Have you ever used the Microsoft Dynamics 365 Translation Service (DTS)? The Microsoft Dynamics 365 Translation Service (DTS) is hosted in Microsoft Dynamics Lifecycle Services (LCS). It’s designed to enhance the experience for partners and independent software vendors (ISVs) when they translate their solutions or add a new language for supported Dynamics products.
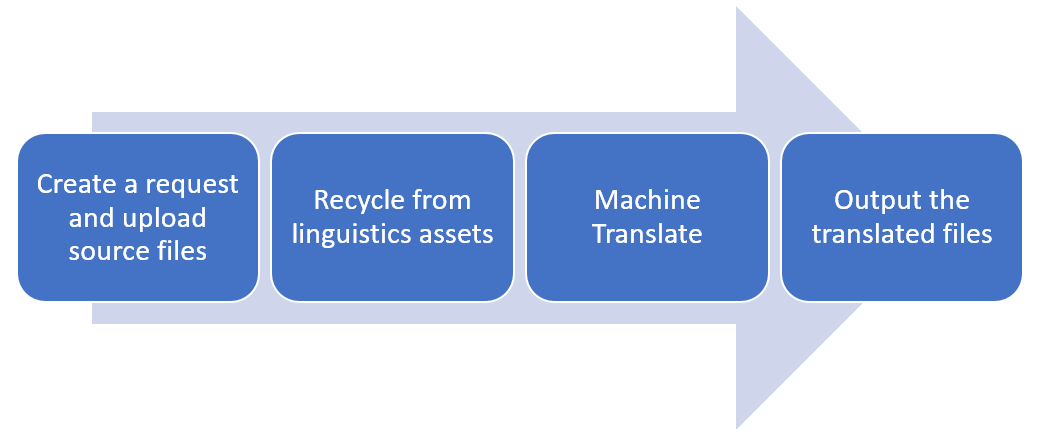
DTS uses product-specific machine translation (MT) models that are custom-trained for Microsoft General Availability (GA) languages to maximize the quality of the translation output. DTS also supports translation recycling from the linguistic assets of Microsoft Dynamics and partners/ISVs. Therefore, identical strings are translated one time and then consistently reused.
The following illustration shows, at a high level, how the service works:

This service is a useful service for Dynamics 365 Business Central ISVs for translating their extensions automatically in different languages, but it required an access to the LCS portal in order to submit XLIFF files and generating translations.
Now Microsoft has released the Microsoft Dynamics 365 Translation Service (DTS) extension for Visual Studio Code (VS Code) that permits users to interact with DTS directly from the VS Code editor.
How to use the extension
The first step for using this new feature is to install the Dynamics 365 Translation Service extension into your Visual Studio Code:

When the extension is installed, open an AL project that contains XLIFF translations (at least the .g.xlf file). The DTS extension will show you a panel with a resource file explorer and the translation request configuration view.
The resource file explorer provides a tree view that you can use to navigate your project’s resources.
From here, to start creating translations select your XLIFF base file (in my case TEST.g.xlf) and then select the languages for which you want to have translations. Here I’ve selected Italian and German. Then click on Save:
If you want all data to be processed in the European Union (EU), select the Process request within the European Union checkbox.
To submit a new translation request to the Translation Service, select the ellipsis button (…) in the resource file explorer, and then select Submit Translation Request on the menu:
A new translation request for each selected target language is sent via API to the Microsoft Translation Service (it requires authentication):

You will receive a notification when the processing of the request begins and another notification when it’s completed and at the end of the process each generated translation file (XLIFF) is written to the folder where the source translation file is located:
You’ve now automatically translated your extension into your desired target languages in few seconds. Every generated caption in the corresponding XLIFF file is marked as needs-review-translation.
Hapy translations… 
This was originally posted here.


 Like
Like Report


*This post is locked for comments