Overview
The relatively new Unified Developer Experience for Dynamics 365 Finance and Operations Apps has been generally available (GA) for a while, and I recently had the opportunity to deploy an environment and set up Visual Studio on two separate local machines to connect and deploy code. To guide the process, I relied on a combination of the Dynamics 365 Fast Track Tech Talk and the official Microsoft Learn documentation. Both sources contained valuable information, but neither provided the kind of repeatable, step-by-step instructions I prefer to work from. To bridge that gap, I documented the steps I followed to configure and connect Visual Studio, which I’ve shared below.
References
These steps are my own, though they were derived from from these references:
Install and configure development tools - Power Platform Microsoft Learn: official documentation for the development tools installation.
Unified Development Experience for Finance and Operations Dynamics 365 FastTrack Tech Talk: a great tech talk, packed with additional information, which I found challenging to pause and zoom at key installation moments, leading me to take my own notes.
Prerequisites
The user you intend to use to connect from Visual Studio needs to have the System Administrator Role in both the Power Platform and the F&O environment. At time of writing, this still needs to be done separately.
You need to have provisioned a Power Platform environment using one of the ERP templates. This can be done from the Admin Center, but if you are familiar with Powershell, it’s even easier. I will share information for this when I have more notes, for now follow the official steps here, it’s pretty straightforward: Tutorial: Provision a new environment with an ERP-based template
Steps
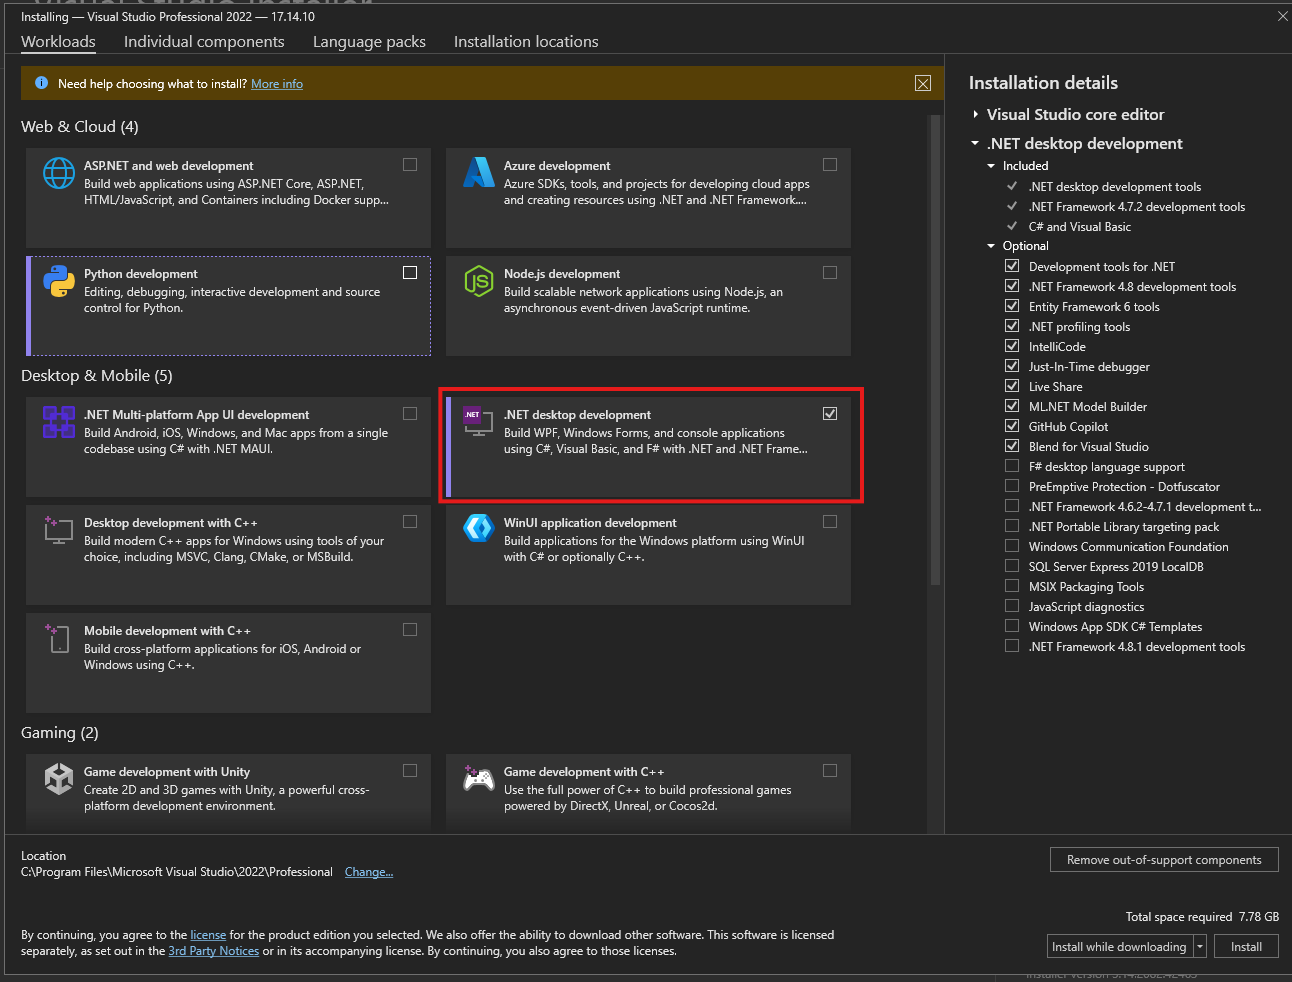
Install Visual Studio 2022.
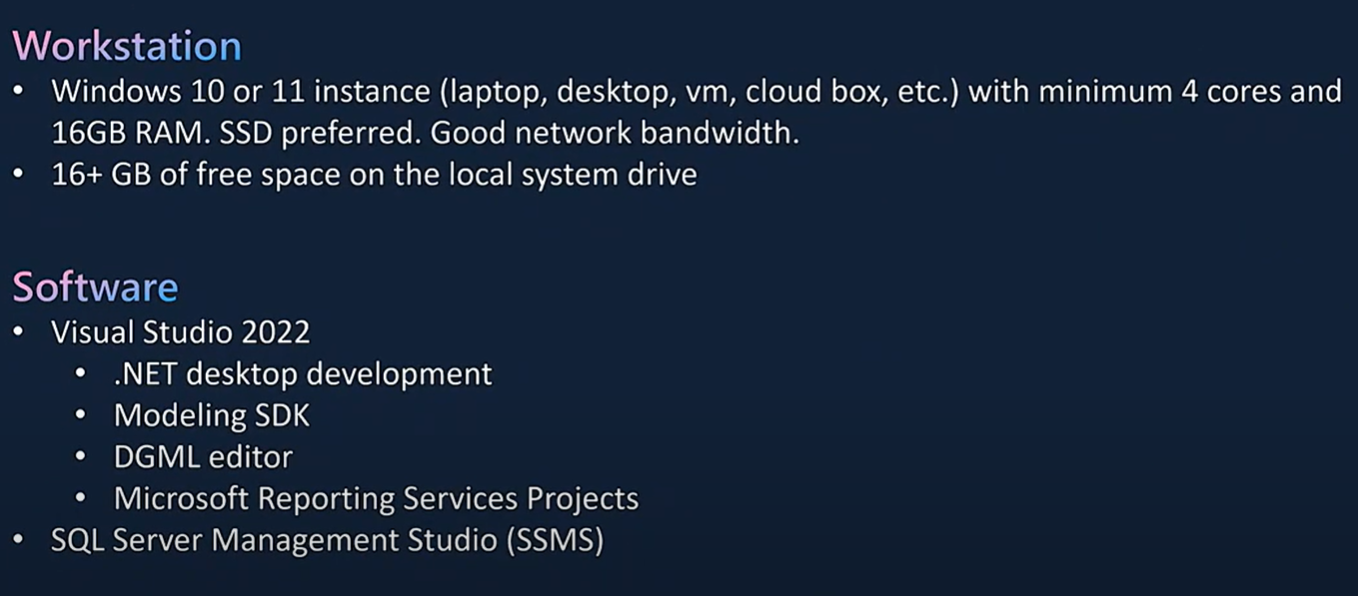
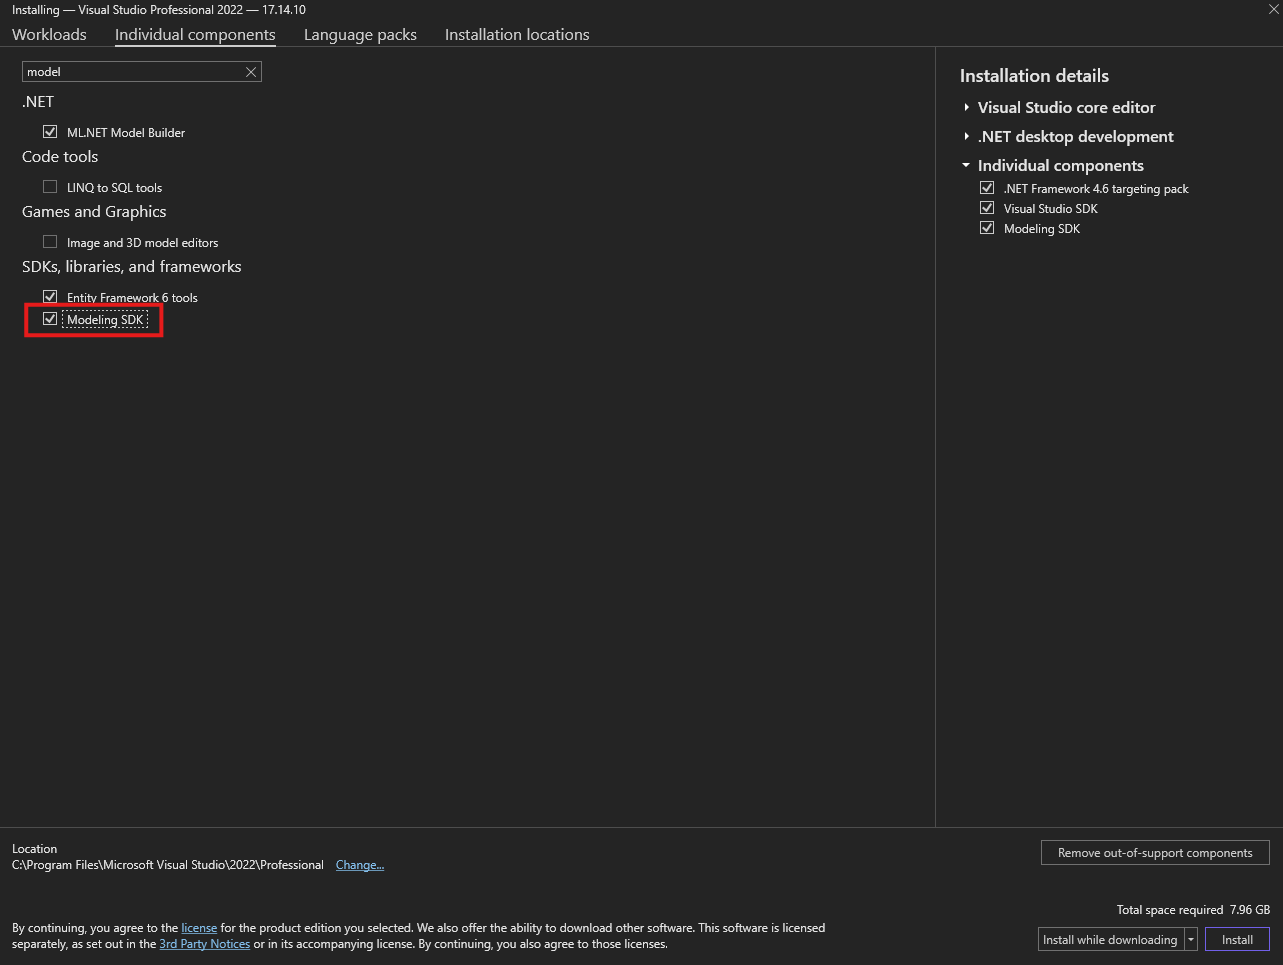
Include the following components:
.Net desktop development (Workloads)
Modelling SDK (Individual Components)
DGML Editor:

Microsoft Reporting Services Projects can be installed from the Visual Studio Marketplace, it opens from the Visual Studio Extension Manager.
Visual Studio Extension: Microsoft Reporting Services Projects
Visual Studio Extension Manager:
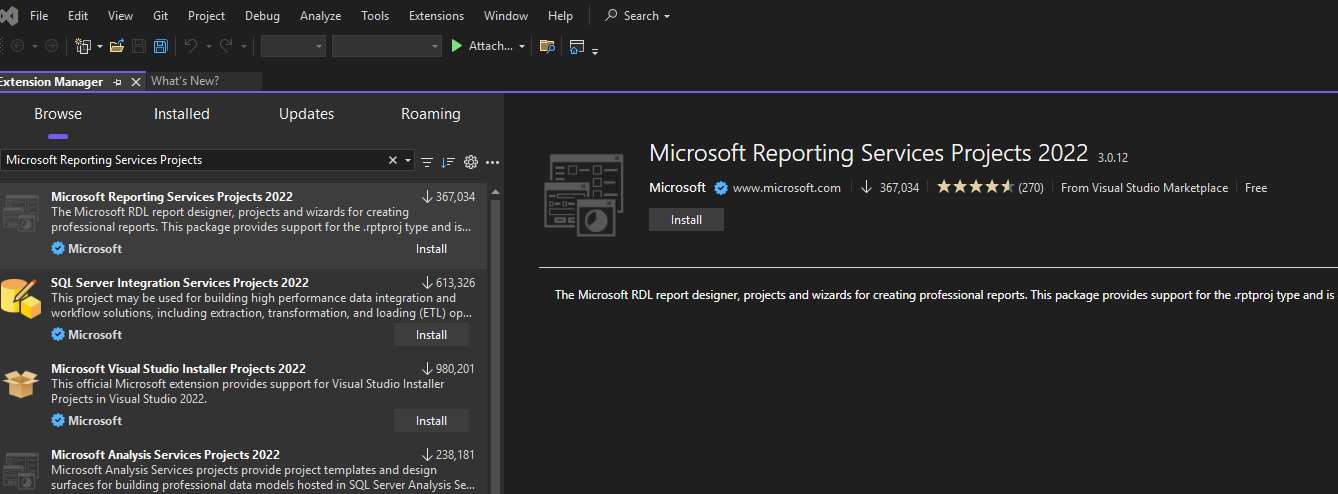
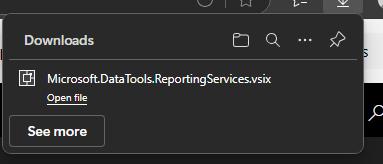
The installer downloads in your browser, run the visx to install:
Next, install Power Platform Tools from the Visual Studio Extension Manager:
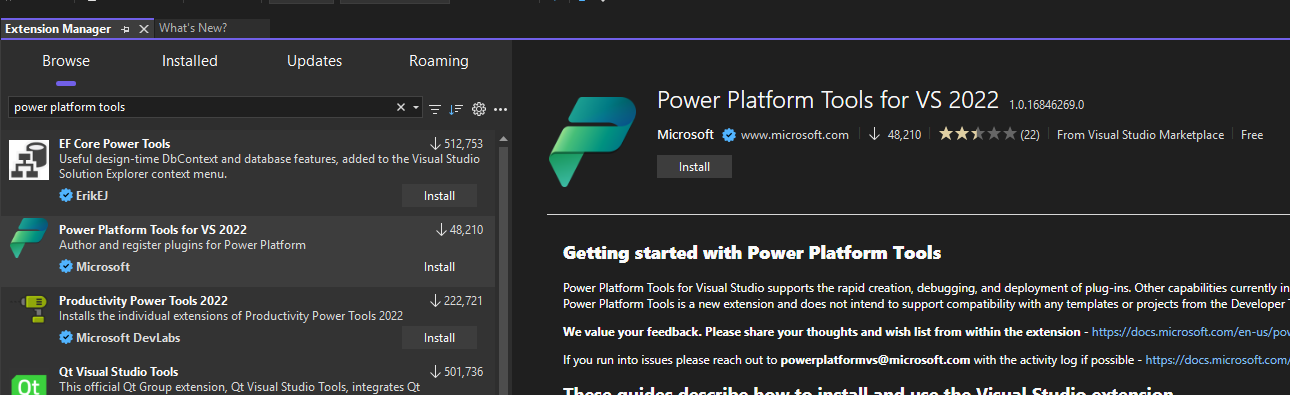
Remember to close Visual Studio to finish the extension installation.
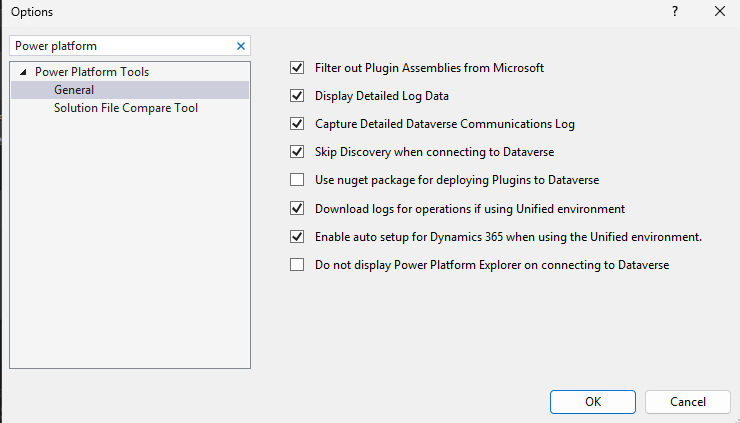
Once installed, configure these options for Power Platform Tools.
Navigate to Setting-> Options -> Power Platform tools
These are the desired options after configuration, for the General tab:
Before connecting to the Unified Developer Environment in Power Platform, using SQL Server Management Studio, validate the connection to the Local DB. If SSMS isn’t installed locally, get it from Microsoft Learn here:
Install SQL Server Management Studio
Run SSMS as administrator, and connect to (localdb)\MSSQLLocalDB. This is where local database synchronisations and cross reference data builds will be stored.
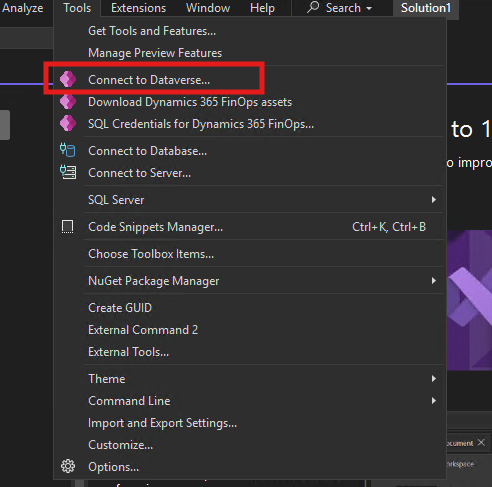
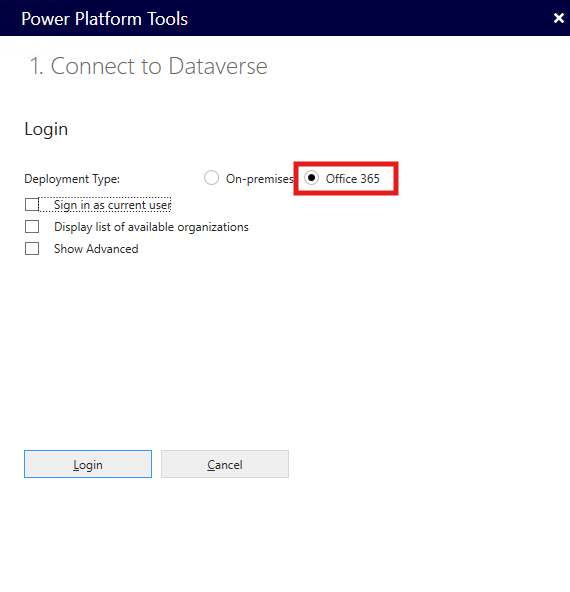
Next, from the Tools menu, select Connect to Dataverse.
On the popup, select Office 365, and click Login:
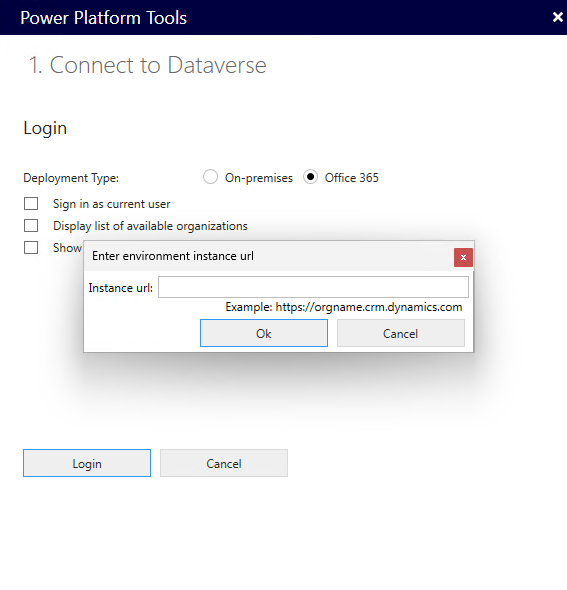
Enter your Unified Developer Environment URL and click Ok:
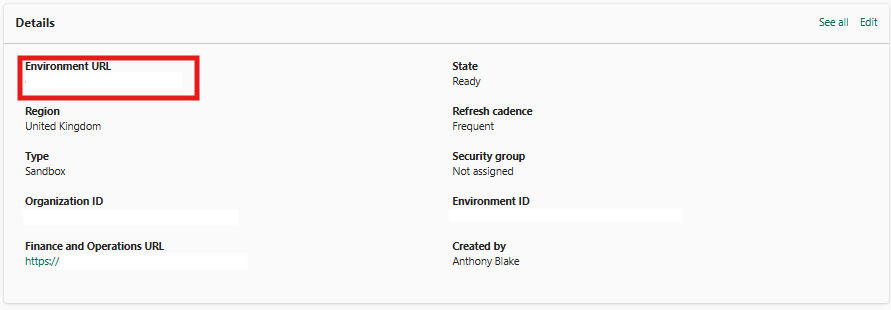
From the environment page in Power Platform Admin Center, you will need to use the field Environment URL, not the Finance and Operations URL, which you will use to connect to the front end of D365 F&O.
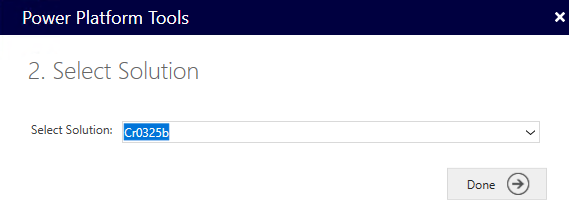
Select solution - I can’t find any information yet about what this does, or what it is for. I had the options Default, or Cr0325b, and noticed that in the Fast Track tech talk here, the presenter doesn’t select the Default.
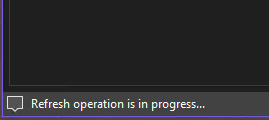
In the bottom left of Visual Studio, you should see Refresh operation is in progress…
After 1-2 minutes, you will be prompted to download the assets for local development:
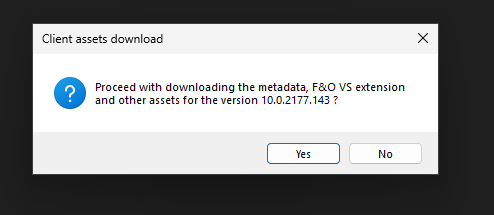
This starts running immediately.
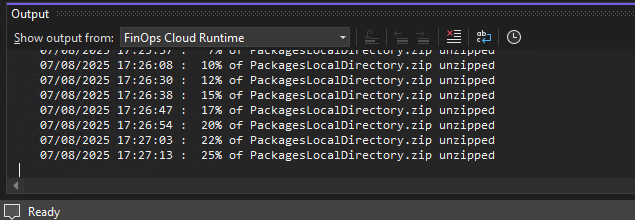
You can monitor the progress in the output window by opening the menu View -> Output


This is also the window that you will use to obtain any initial indications that there have been any problems, such as those caused by company policies blocking PowerShell scripts.
Once downloaded the assets will also automatically unpack:
Each time you open Visual Studio, you will need to connect to your development environment using Connect to Dataverse, however the connection will subsequently be much faster as the assets are already downloaded and extracted locally.
View -> Application Explorer will now load the application explorer which has been downloaded and extracted locally.
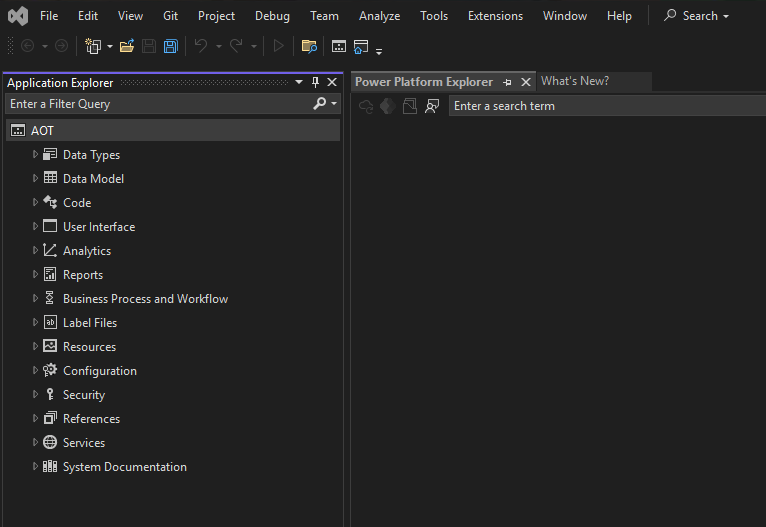
The local development config is complete.
The next steps are to either create a model and add your own customisations, or to connect to source control and download code locally.
For this example, I downloaded a model from a preexisting git repo hosted in Azure DevOps:

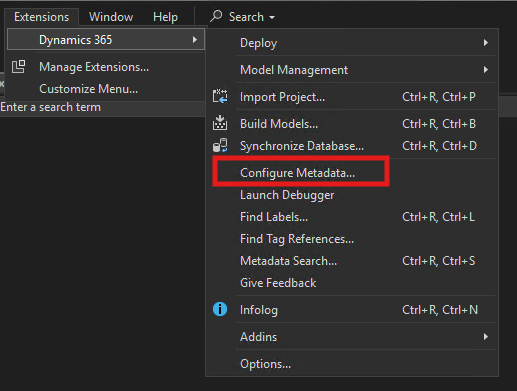
The location for custom Metadata needs to be set to the location of your local repo. Navigate to Extensions -> Dynamics 365 -> Configure Metadata:
The folder can be set to your desired location if creating a new Model, or the location of your cloned git repo, in my case C:\Users\AnthonyBlake\source\repos\Unified Dev Demo:
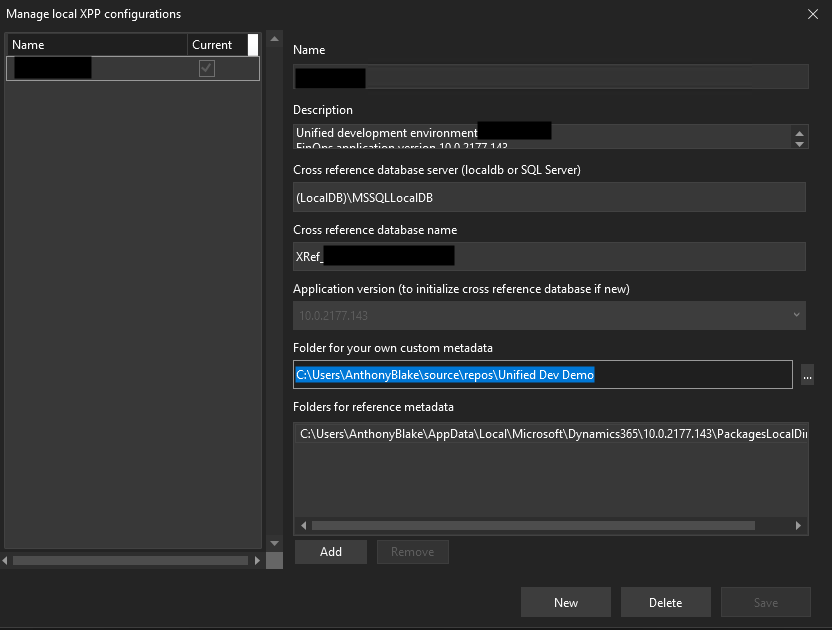
Be wary that I’ve found this configuration page quite temperamental. If the Save button isn’t available, click around into some of the other controls until it is. Also, after configuring, restart Visual Studio, reconnect to Dataverse, and check the configuration did actually save.
Also, note that the location itself doesn’t matter, so long as the custom Metadata folder is correctly configured. Code no longer needs to be based in the PackagesLocalDirectory like it does on a Cloud Hosted Dev Environment.
The Unified Dev Experience is now configured and ready to use for deployment.
Code builds locally, however a deploy step is required to deploy your Model to your Power Platform hosted dev environment.
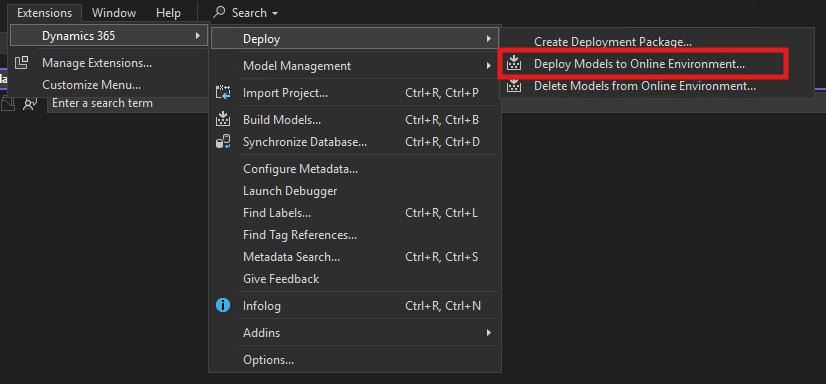
To deploy your model, Navigate to Extensions -> Dynamics 365 -> Deploy - > Deploy Models to Online Environment…
Find and select your custom Model or Models to deploy, and select the Synchronise Database option to also trigger a DB sync on the environment after deployment.
If you have cloned a repo from source control, and not yet built the model, make sure you do this first. Without a model build, the bin folder wont exist, and the deployment will record errors in the output window.
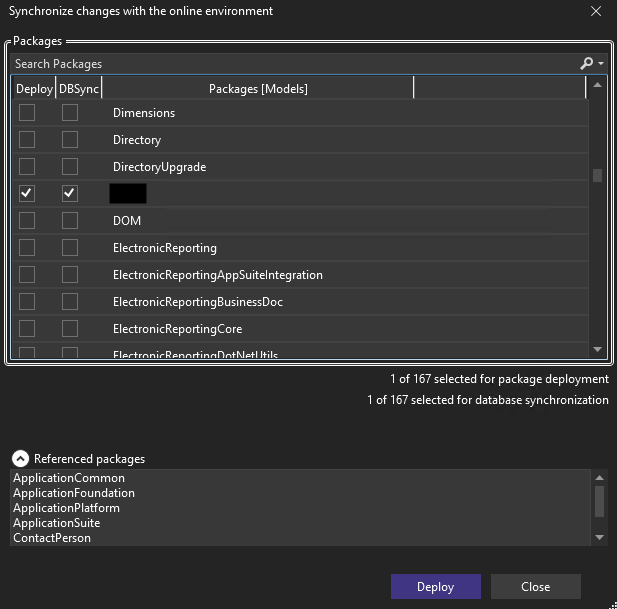
Click Deploy.
You may be prompted to connect to Dataverse at this point if you are disconnected.
During deployment and synchronisation, progress can be viewed in the Visual Studio output window:
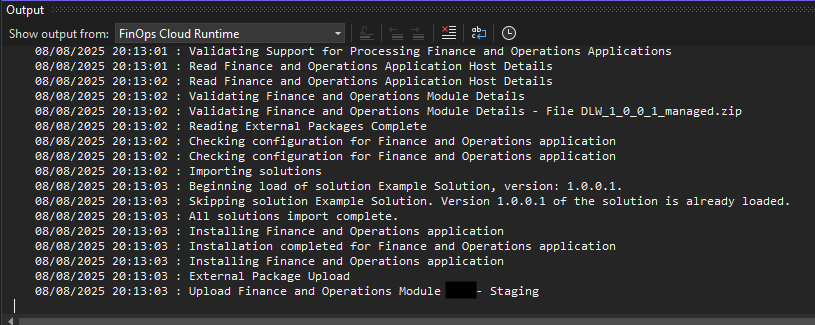
Steps complete, with those configuration steps followed, you should now be able to develop and build locally, and deploy to a Power Platform hosted D365 F&O environment.
Welcome to the Unified Developer Experience!
This post was also published on my personal website here: https://anthonyblake.github.io/d365/finance/xpp/2025/08/16/d365-xpp-cofigure-unified-dev.html