


 436
436 Like
Like Share
Share
 Report
For instance, there is an IT company where different teams like sales, marketing, and product management work with distinct sets of data in Dynamics 365 CRM. However, the default public system view displays all data to every user within a team. This means a sales team admin who primarily needs to see “All Leads” must also navigate through “Open Leads” and “Closed Leads,” which are more relevant to other team members. As a result, users end up seeing unnecessary views, creating clutter and inefficiencies.
If you are a salesperson, you may find it frustrating to scroll through irrelevant views just to locate “Active Leads.” This not only wastes time but also increases the risk of exposing sensitive data. Constantly navigating through unnecessary views makes the system cumbersome and negatively impacts productivity.
To solve this, the “Manage Public Views with Security Roles” feature in Dynamics 365 allows you to control view access based on security roles. For example, you can restrict access to the “Active Leads” view for certain users while ensuring that the sales admin retains full visibility. This ensures each team member only sees the data relevant to their role, making navigation easier and improving overall efficiency.
By implementing this feature, you can streamline workflows, reduce distractions, and enhance security, creating a more focused and user-friendly experience in Dynamics 365 CRM.
Let’s take a look at how to configure it:
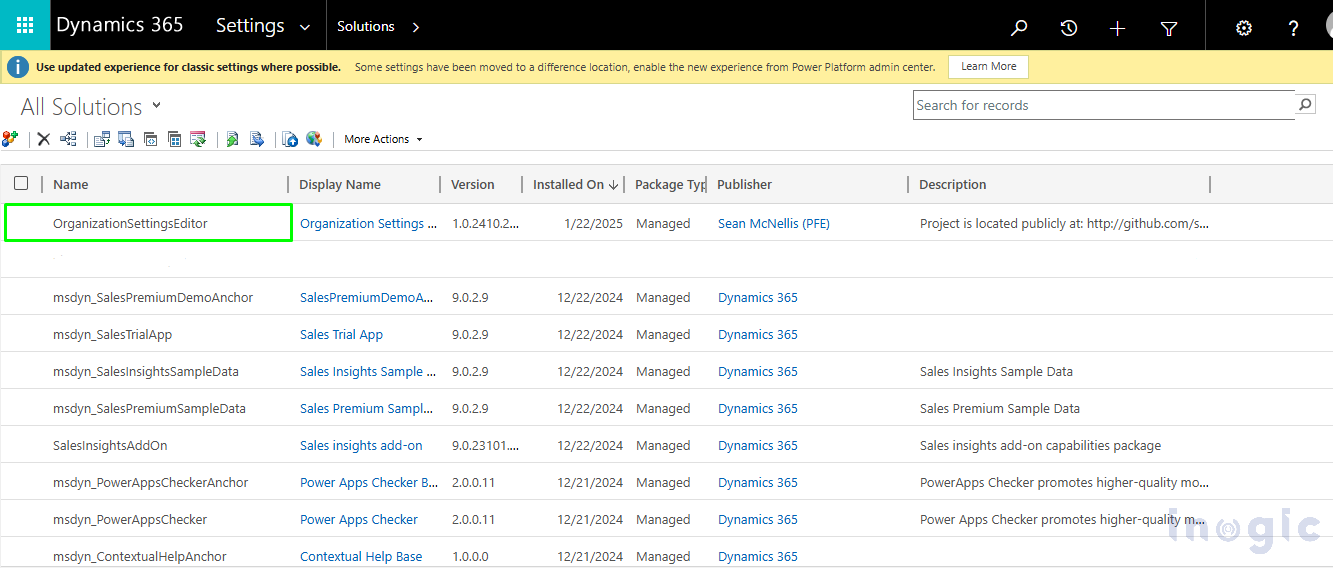
The “Manage System Views” feature is disabled by default. To enable it, turn on the “EnableRoleBasedSystemViews” setting. This can be done by downloading and running the “OrganizationSettingsEditor” tool.
- Download the latest OrganizationSettingsEditor tool.
- Go to the Environment > Settings > Solution.
- Select Import > Choose File, and then select the downloaded .zip file.
- Select Open > Next > Import.
- Go to Settings > Solution > Double click on the OrganizationSettingsEditor solution.
- Select Add; then, the Addlink changes to Edit.
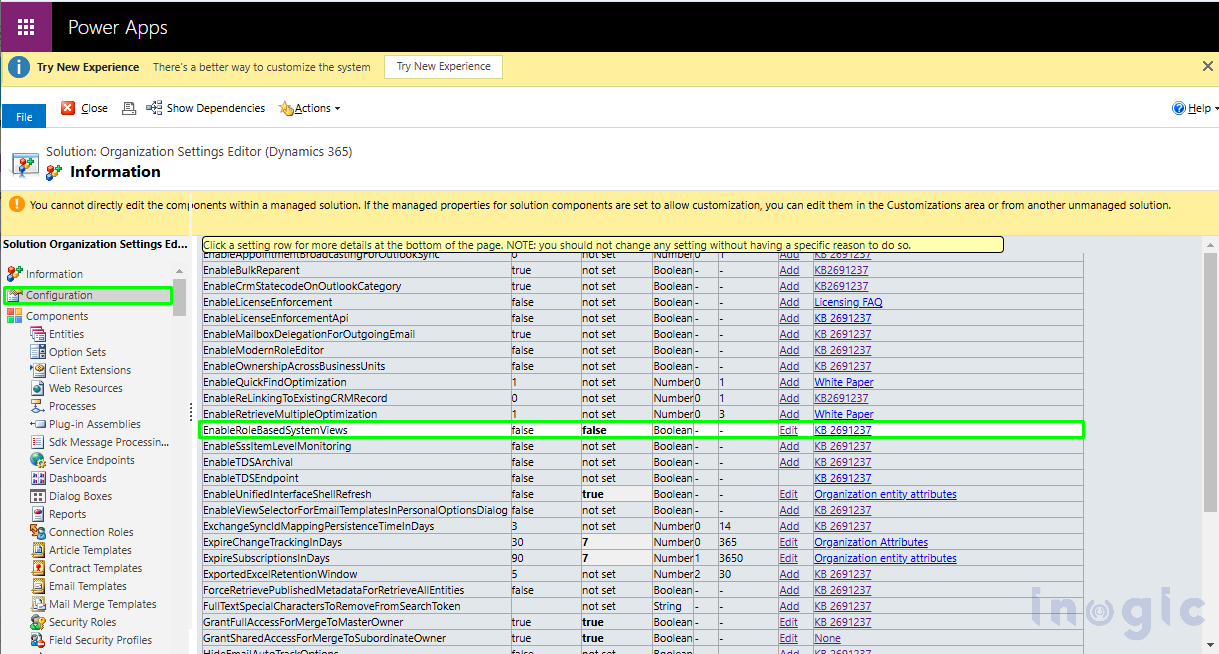
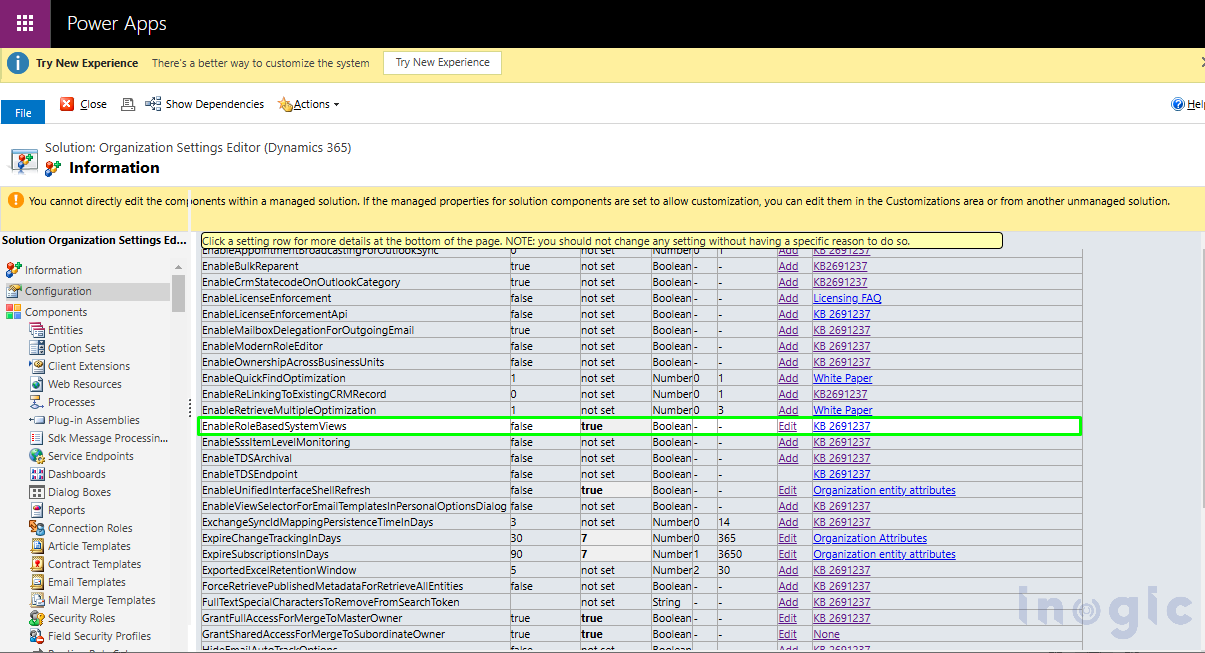
- Select Edit to change the values.
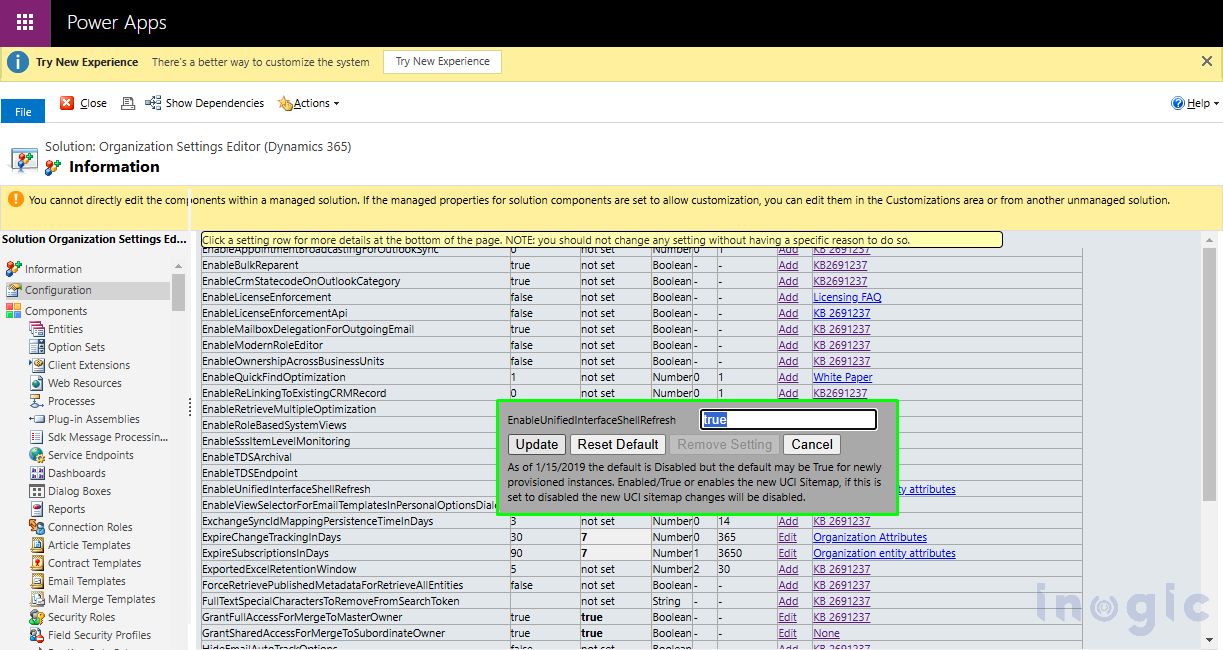
- Enter the “True” value and click on Update.
Now, manage public views with security roles
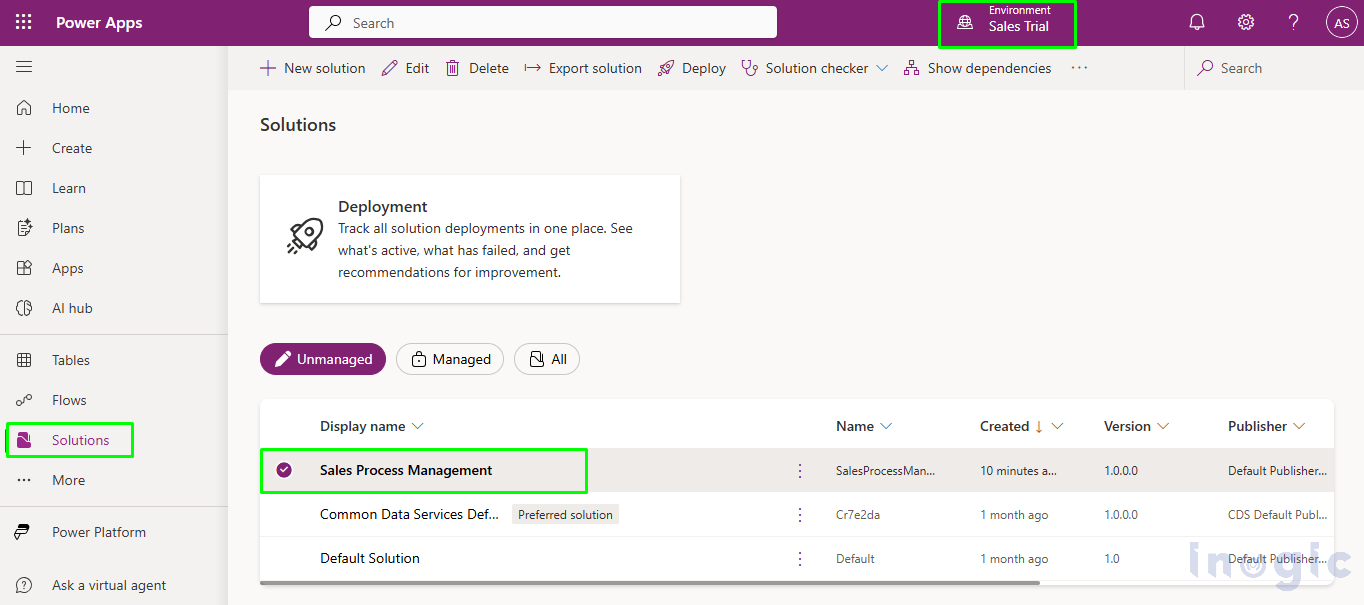
- Go to Power Apps, select Solutions, and open the desired solution.
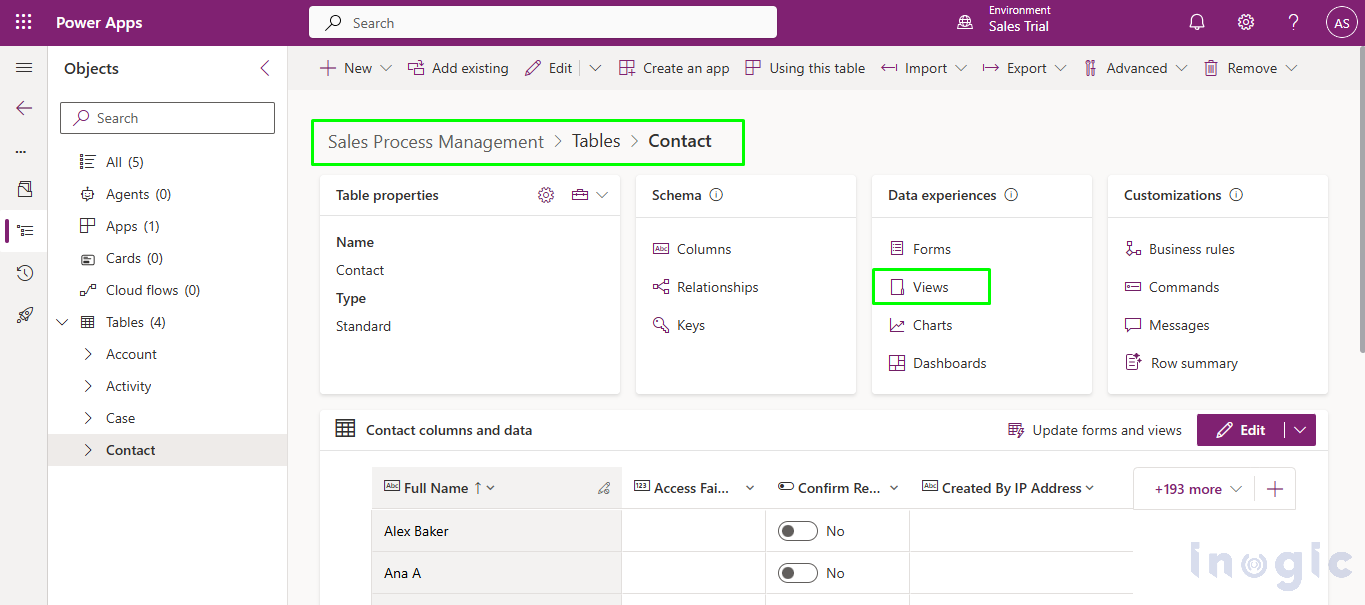
- Open the Contact table > Choose the Views.
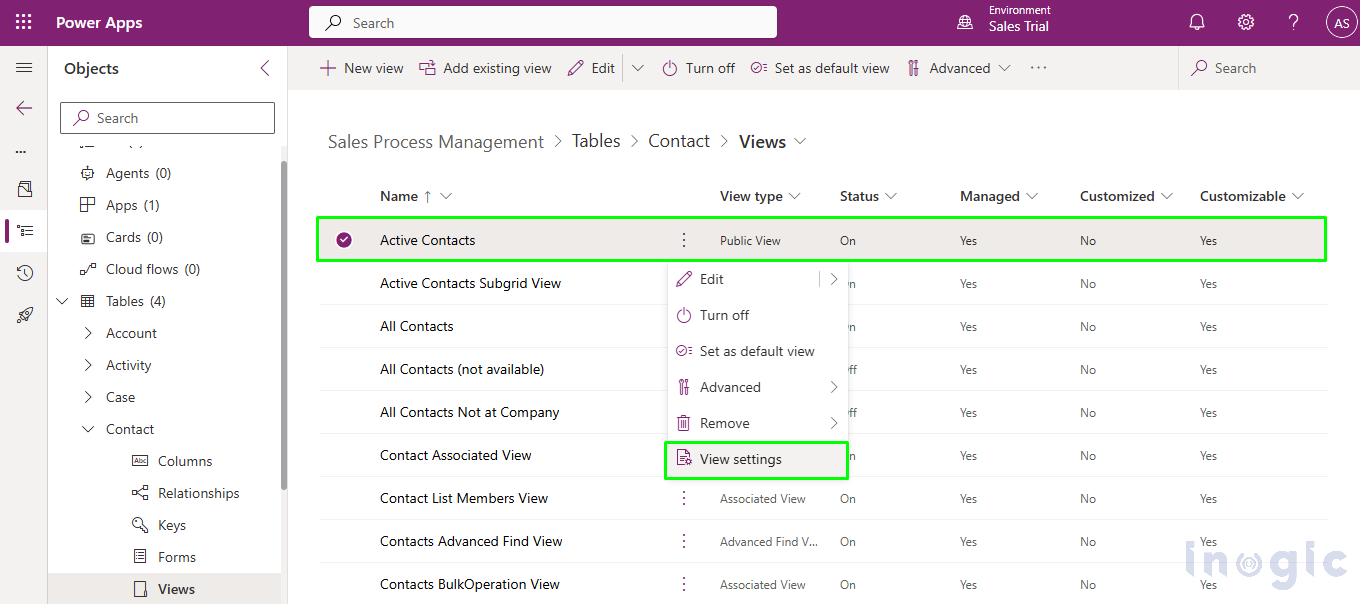
- Select the non-default public view as per your business requirement, and then from the command bar, select View settings
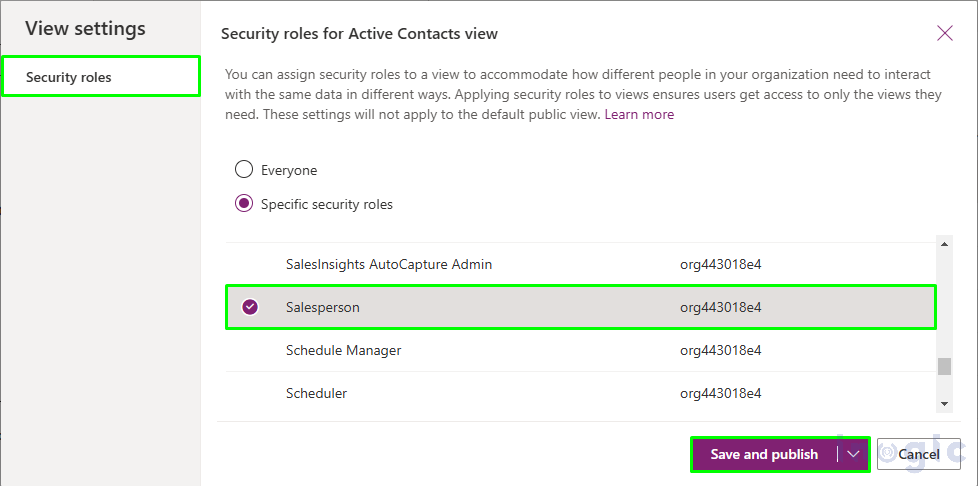
- Select the Specific security roles Then you can choose security roles that you want to assign to the public view. Finish with a click on Save and Publish button.
Let’s see how it works:
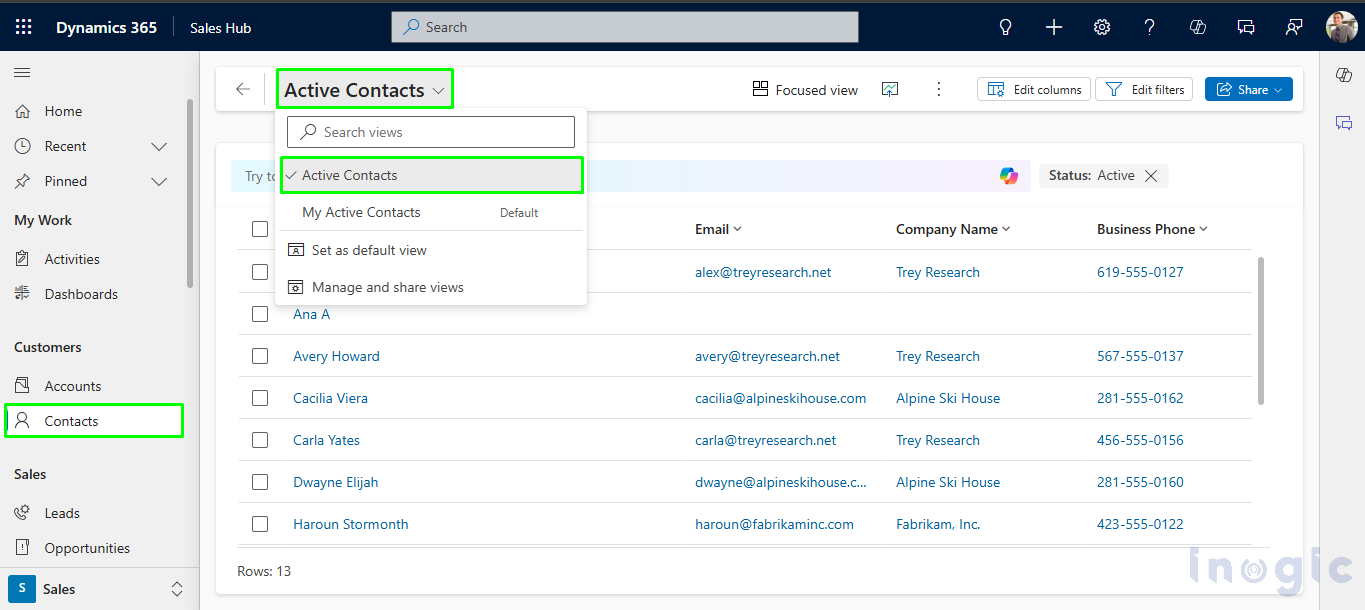
Here I have Logged in with the user, Alex Baker, who has a salesperson security role.
Navigate to the Contact entity > Click on Views. As you can see in the below screenshot, the user is able to see the “Active Contacts View”.
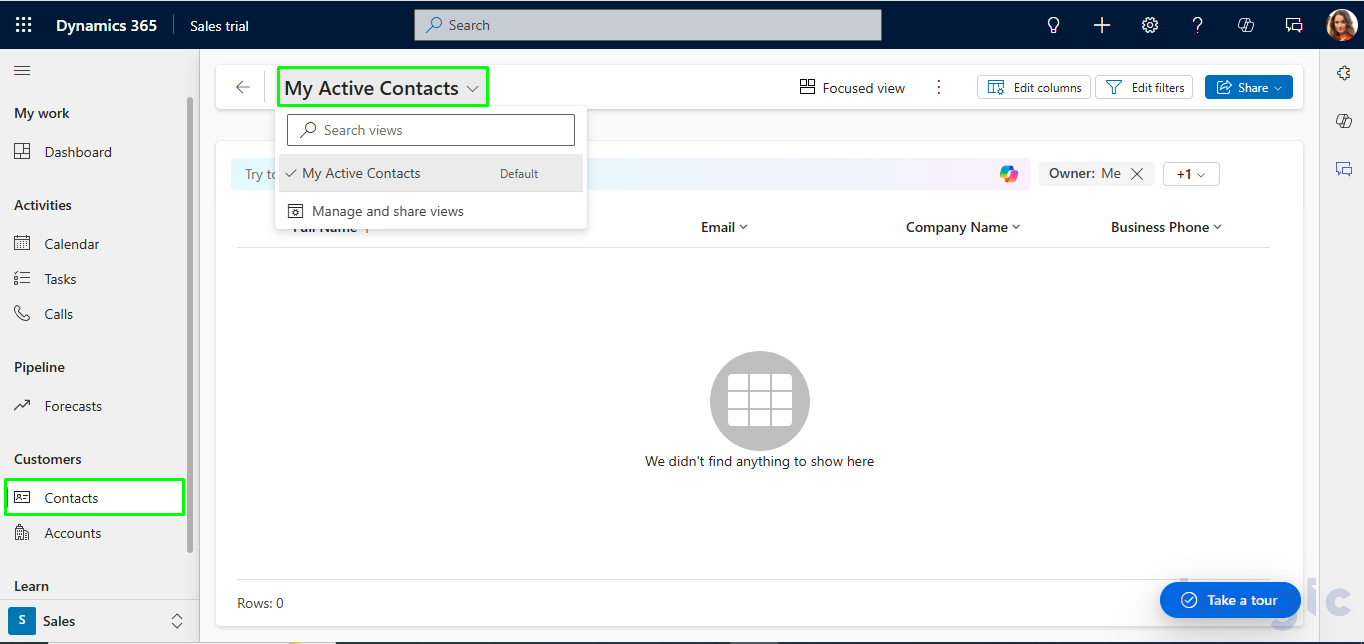
Login with the user-Adele Vance, who does not have the Salesperson security role, is not able to see the “Active Contacts view” in Contact entity.
The post Streamlining Data Access: By Managing Public Views with Security Roles in Dynamics 365 CRM first appeared on Microsoft Dynamics 365 CRM Tips and Tricks.
*This post is locked for comments